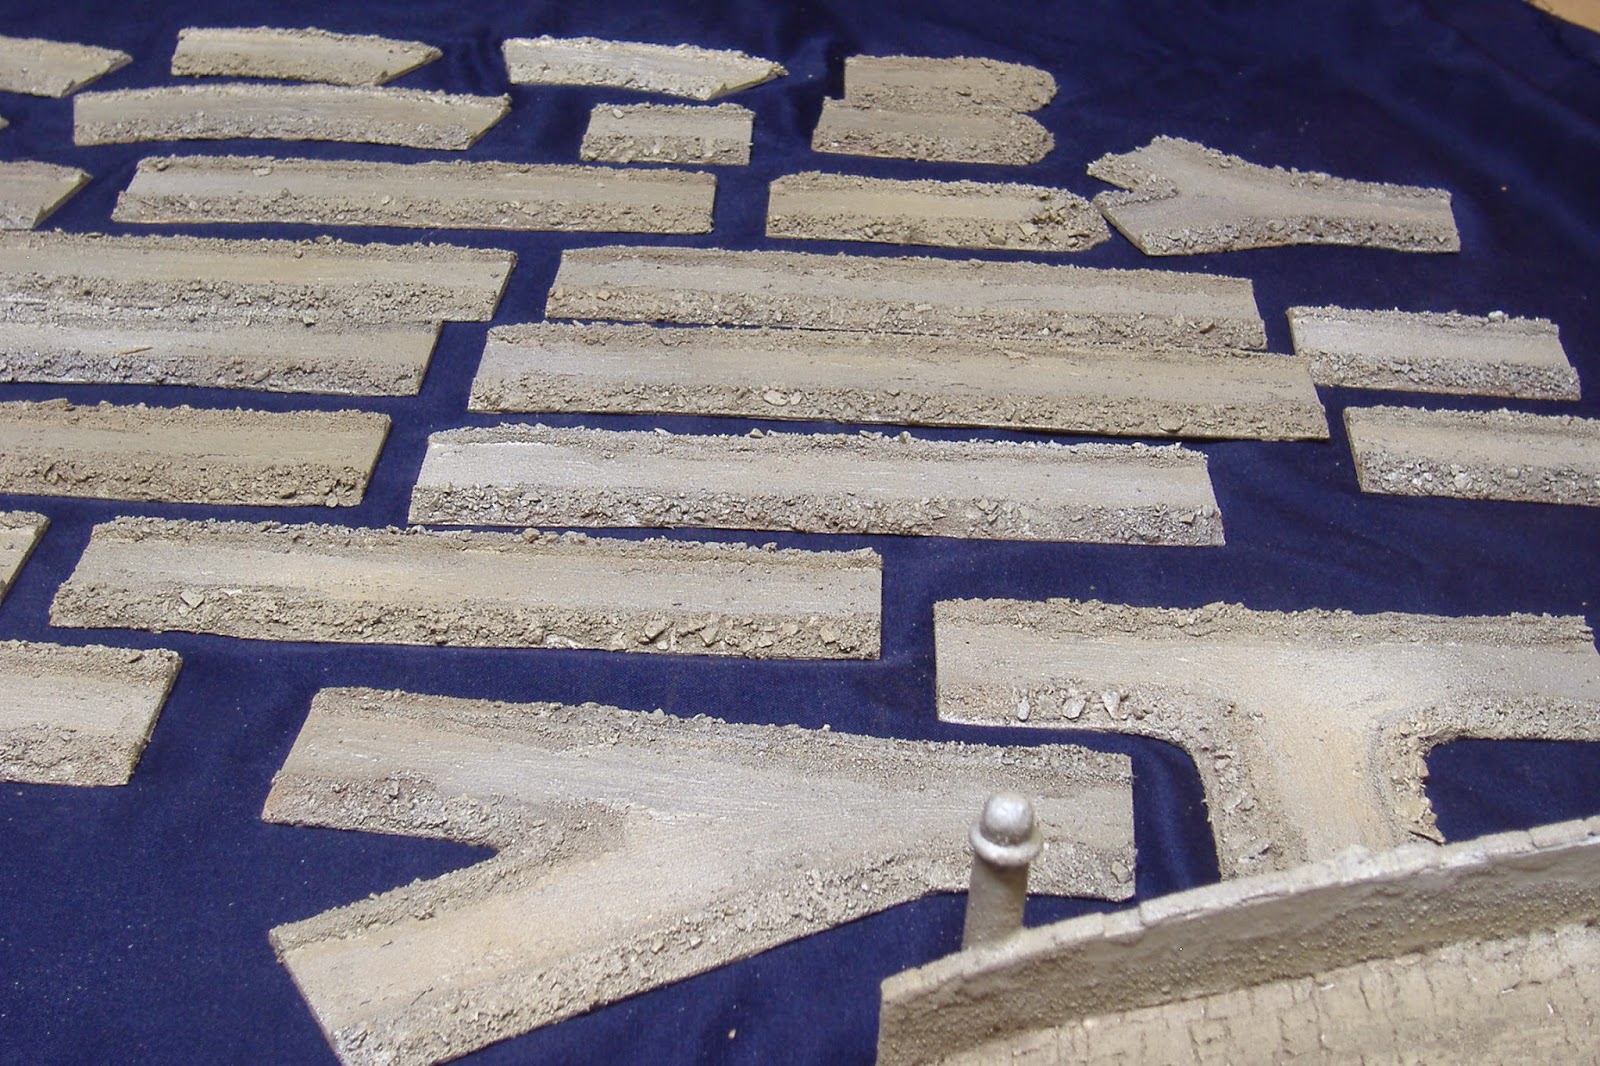
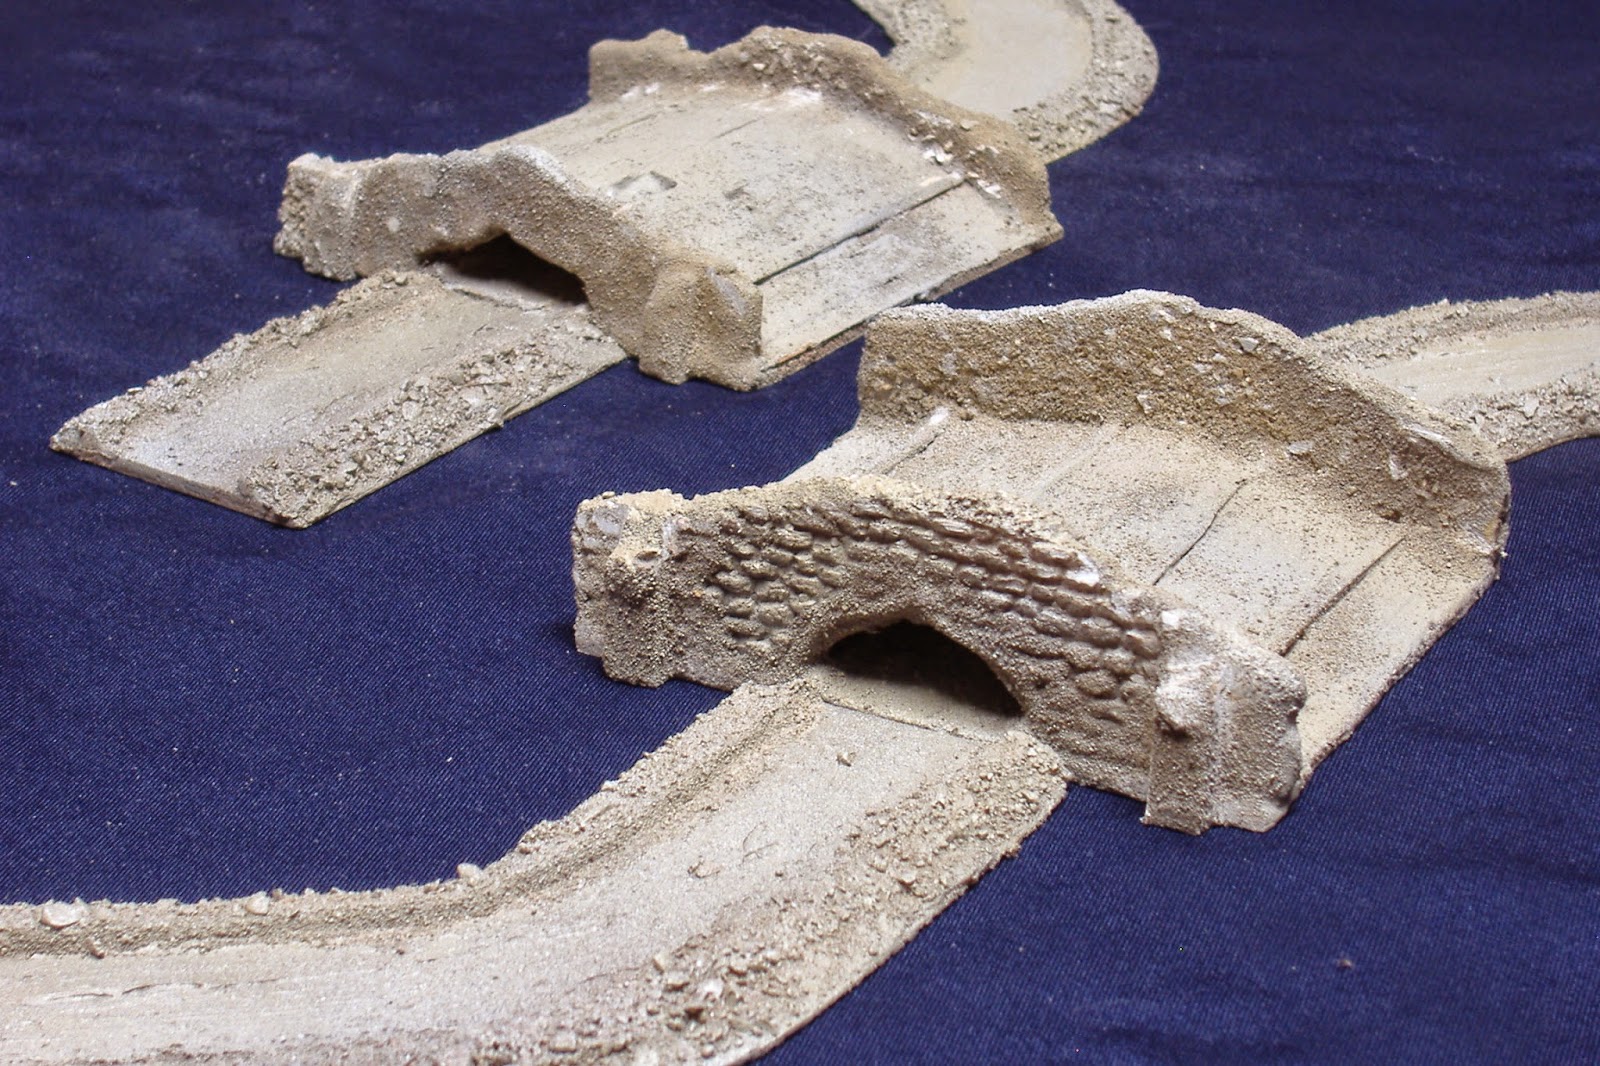
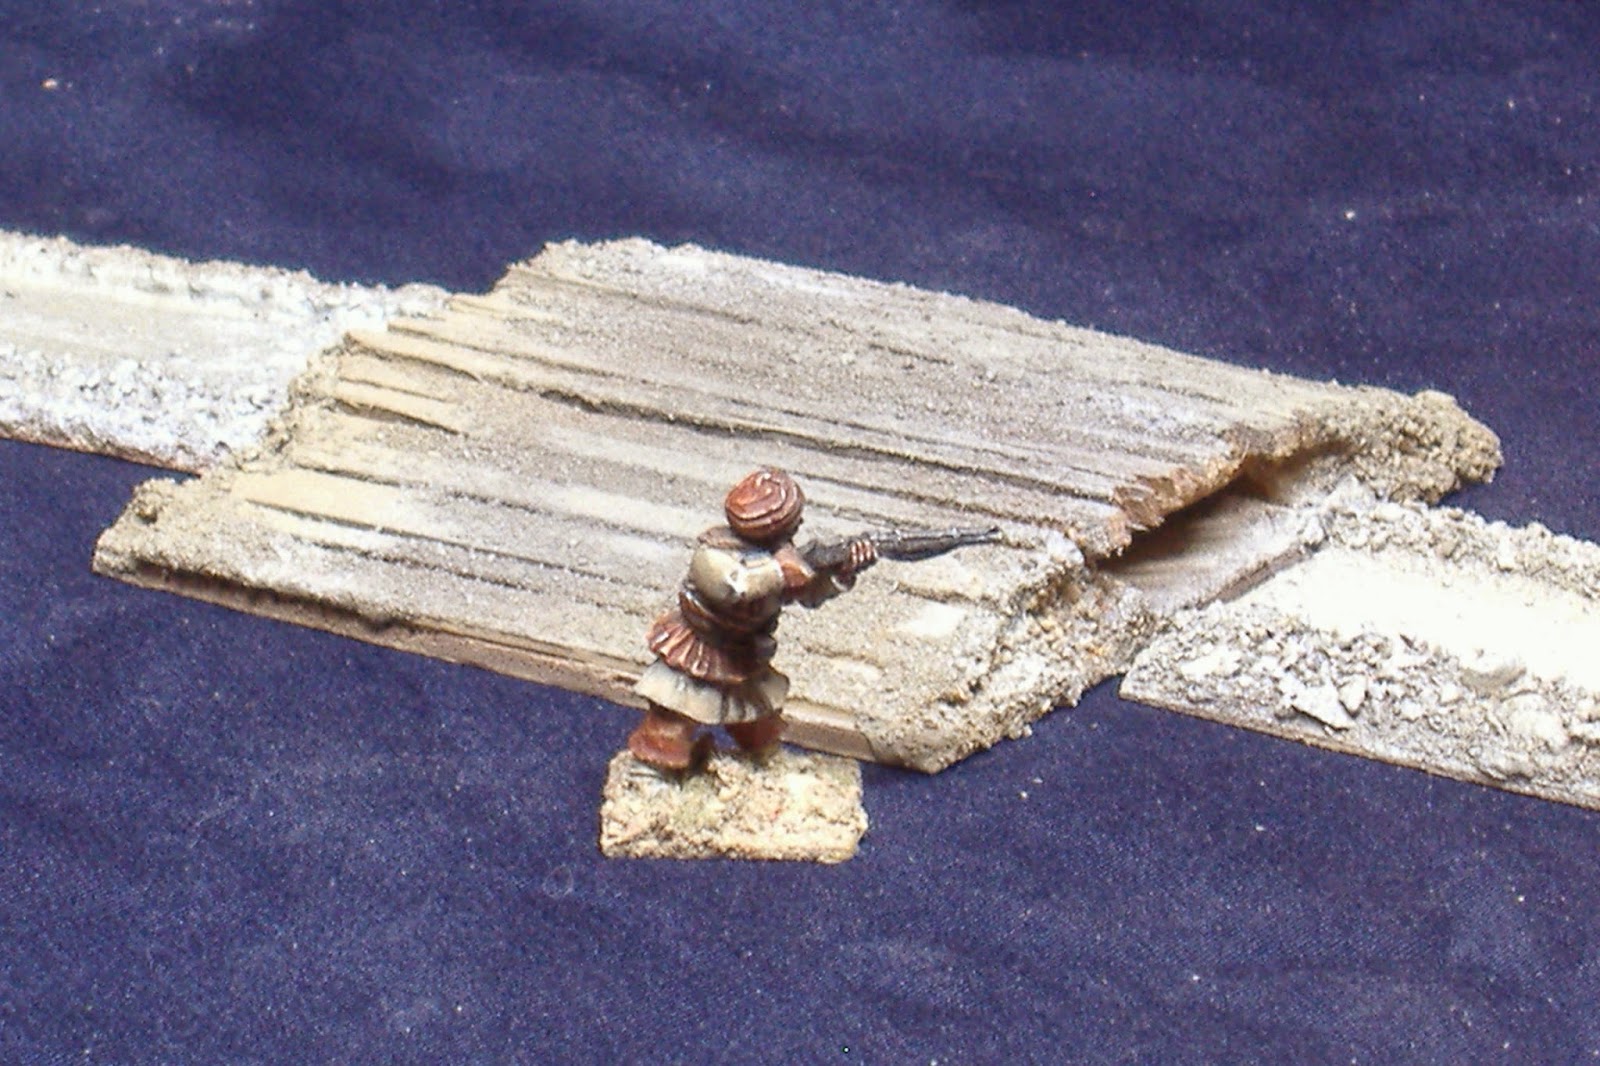
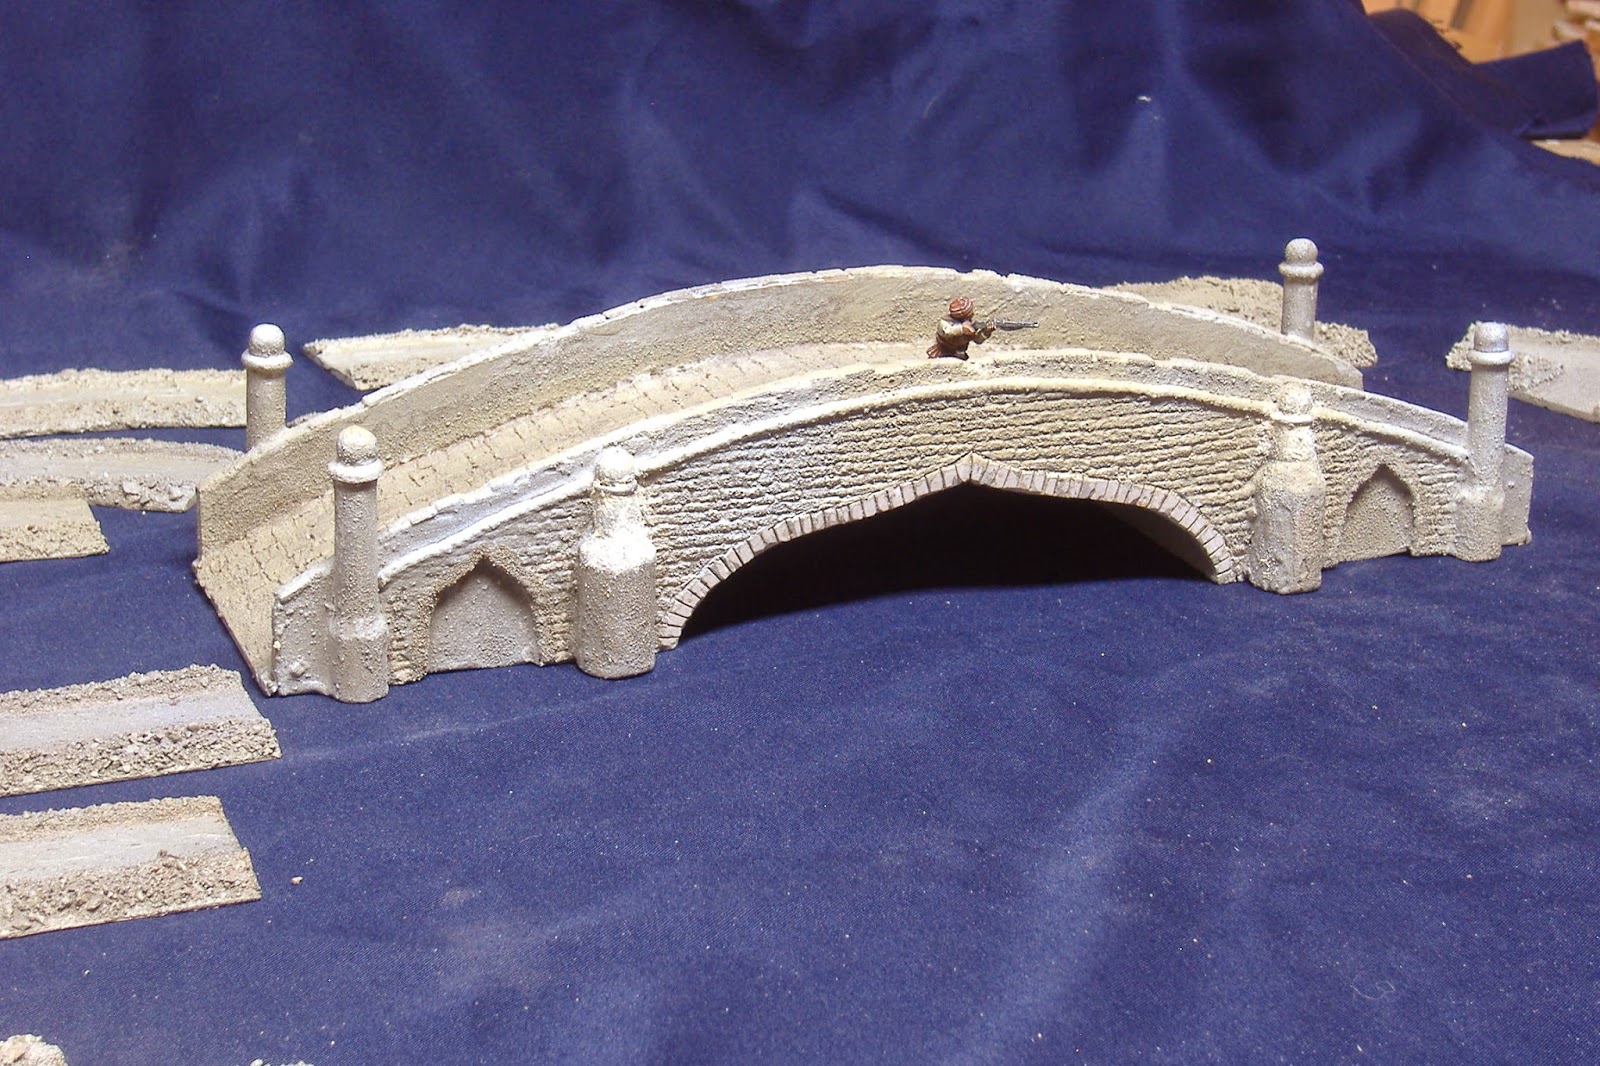
First for the roosts — these are the second set of photos from Chris Riordan, aka: Chris The Model Maker, showing progress on the trio of Charasiab villages, as well as the above-ground “Karez” (canal/irrigation system) complete with 3 small bridges, plus a more substantial bridge built to cross my 6″ wide bank-to-bank rivers. This larger bridge will not be part of the historical Charasiab terrain lay-out, since no such bridge played a part in the battle, but it will be great to have on hand for future game lay-outs in general using the river boards I’ve spent much of this past year building, and in particular for games set in Kabul, which in 1879 was home to several bridges crossing the Kabul River and the Kabul Canal inside the city limits. The models in these pics haven’t received their final paint job yet but I think they already look fantastic:
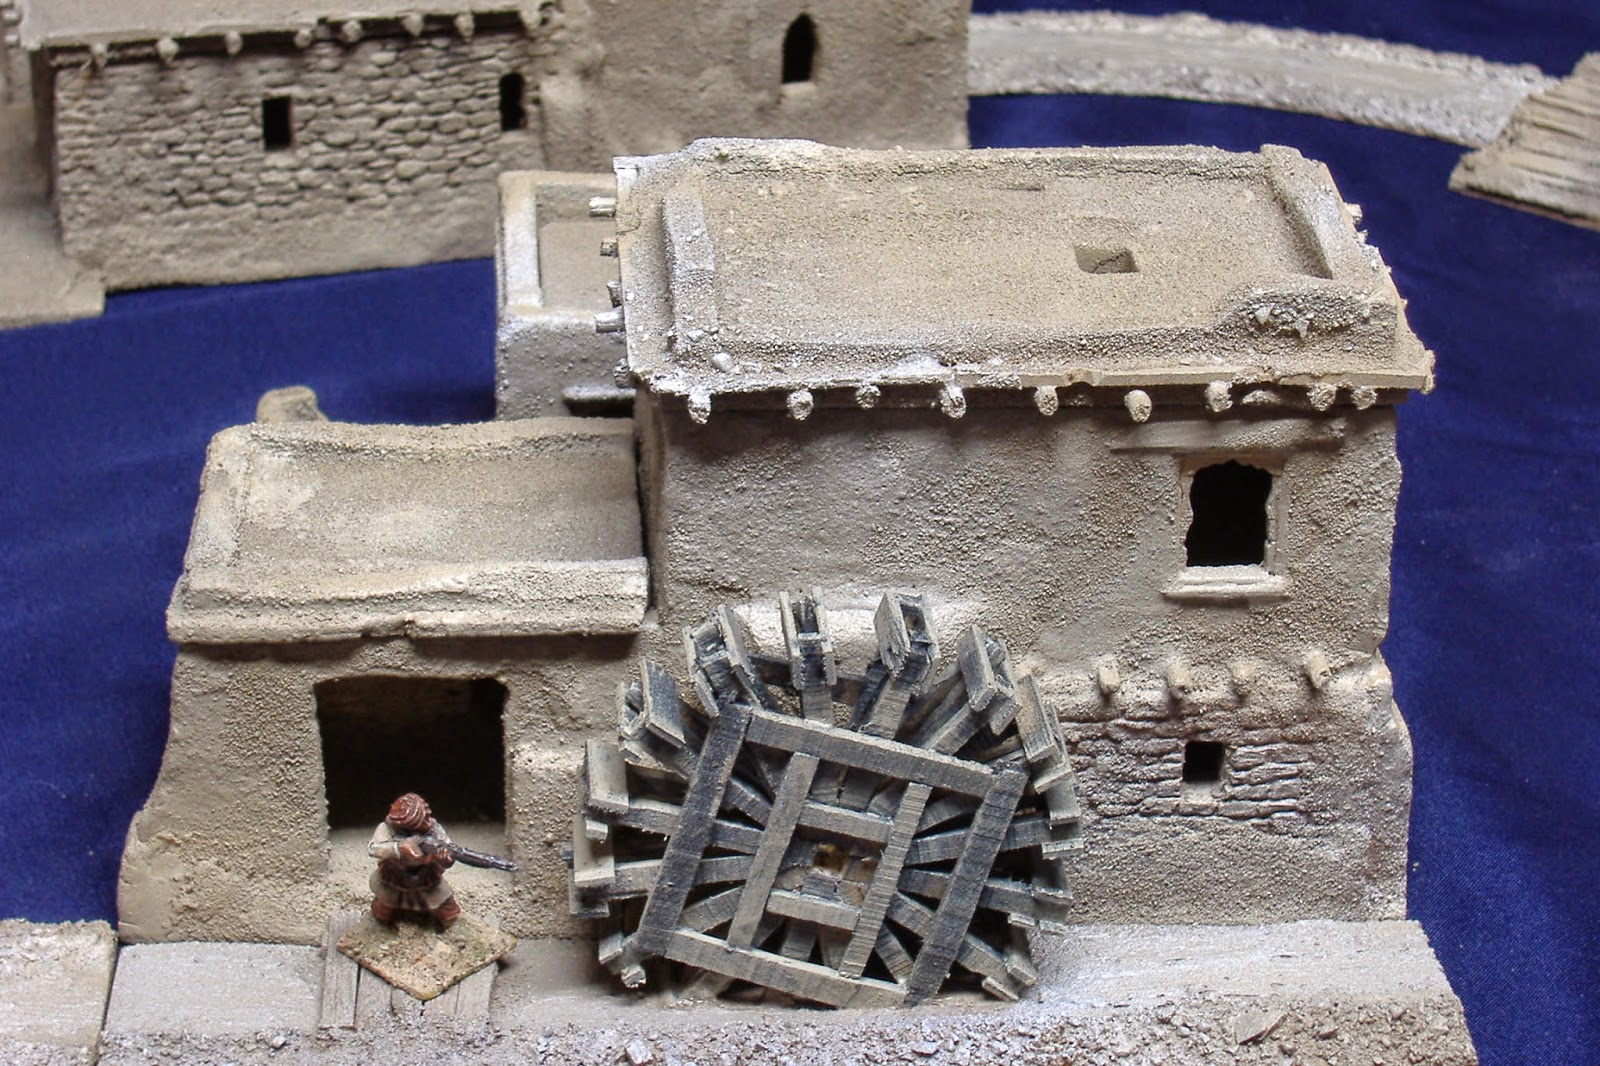
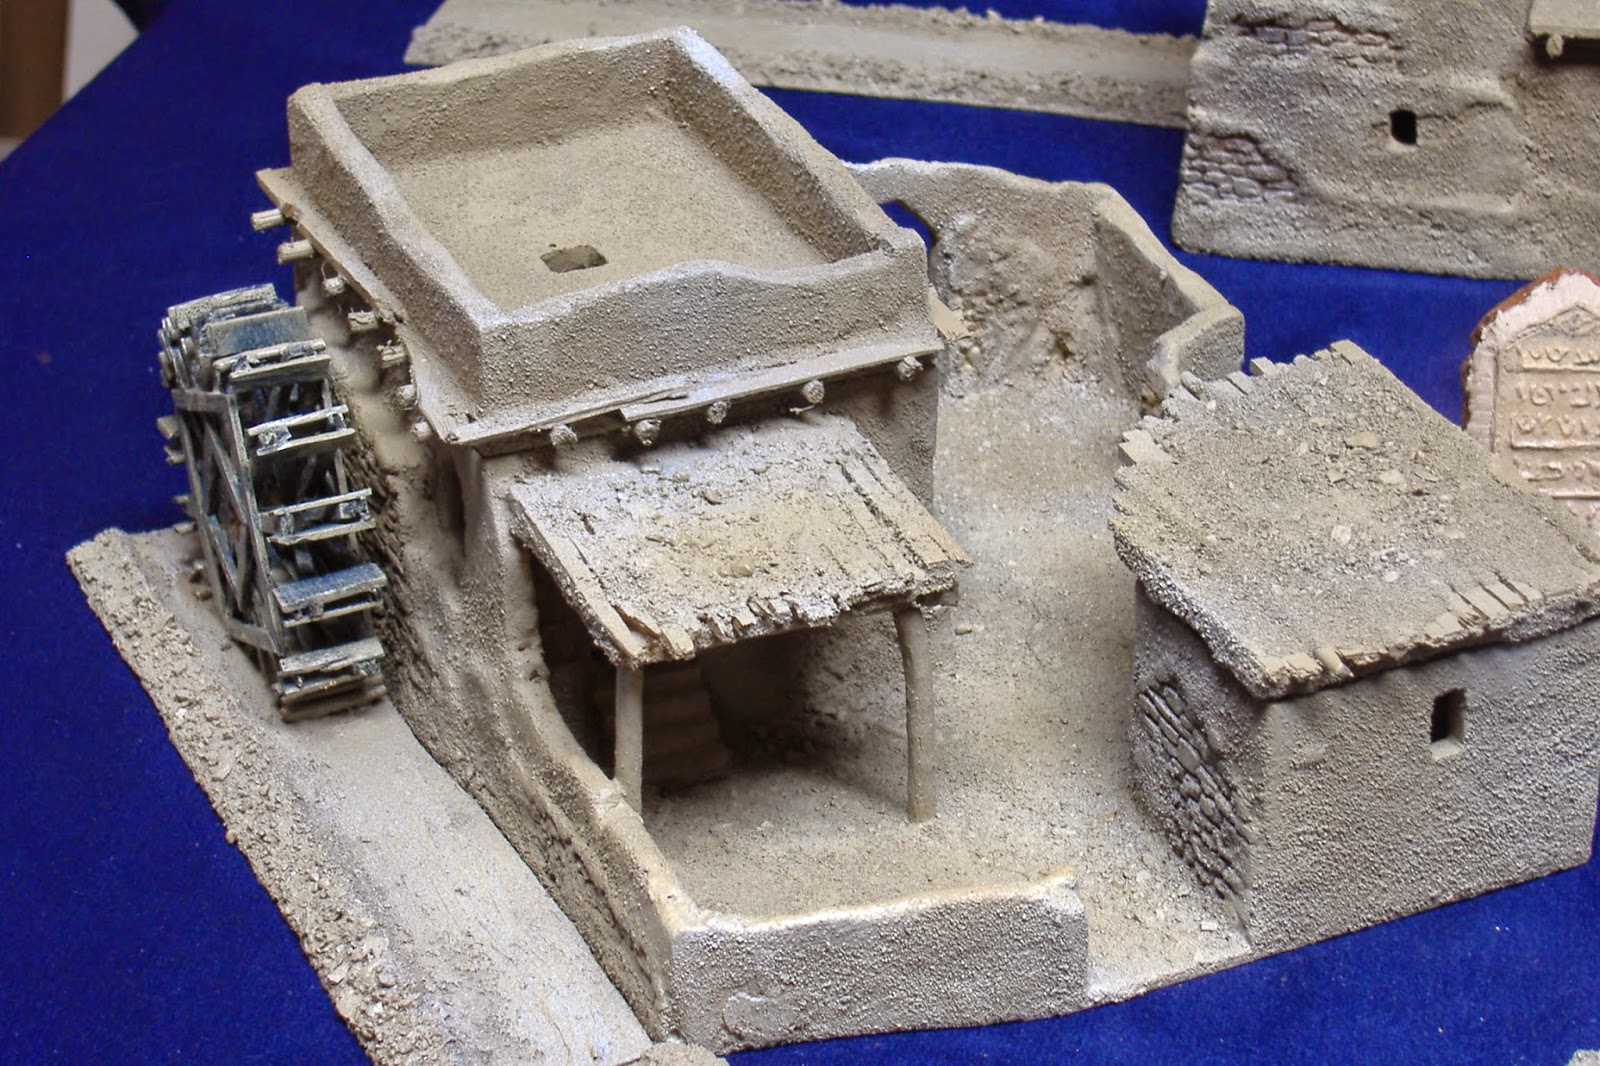
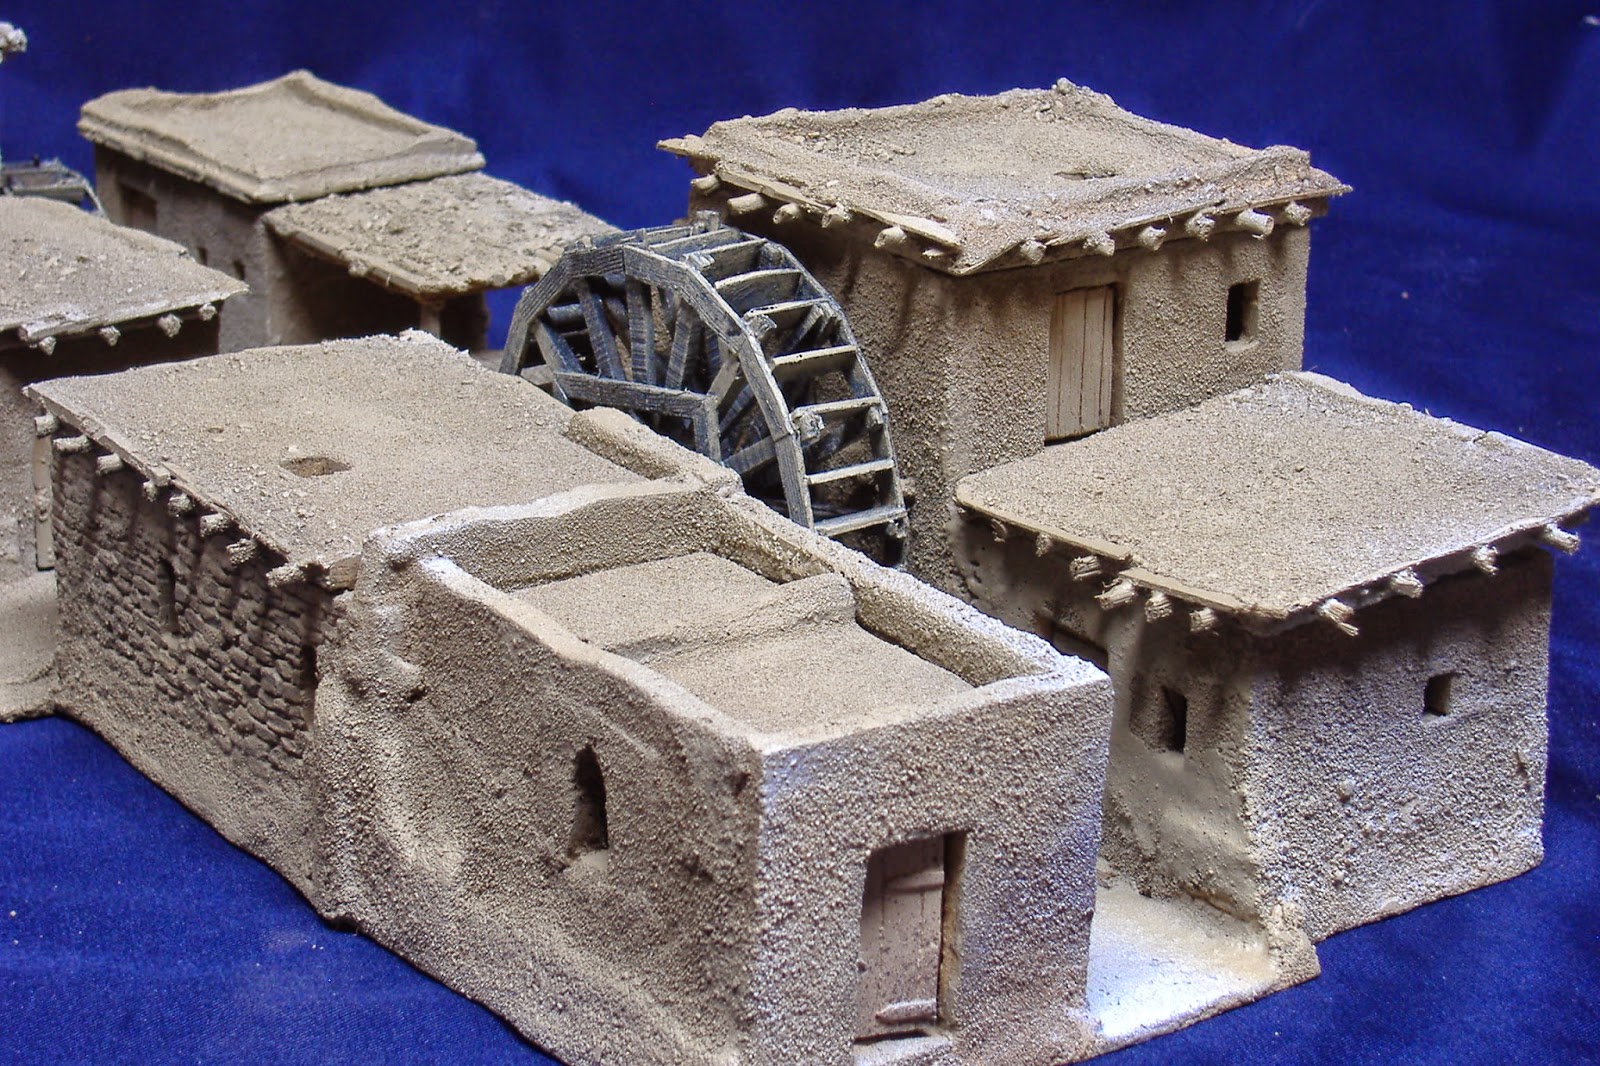
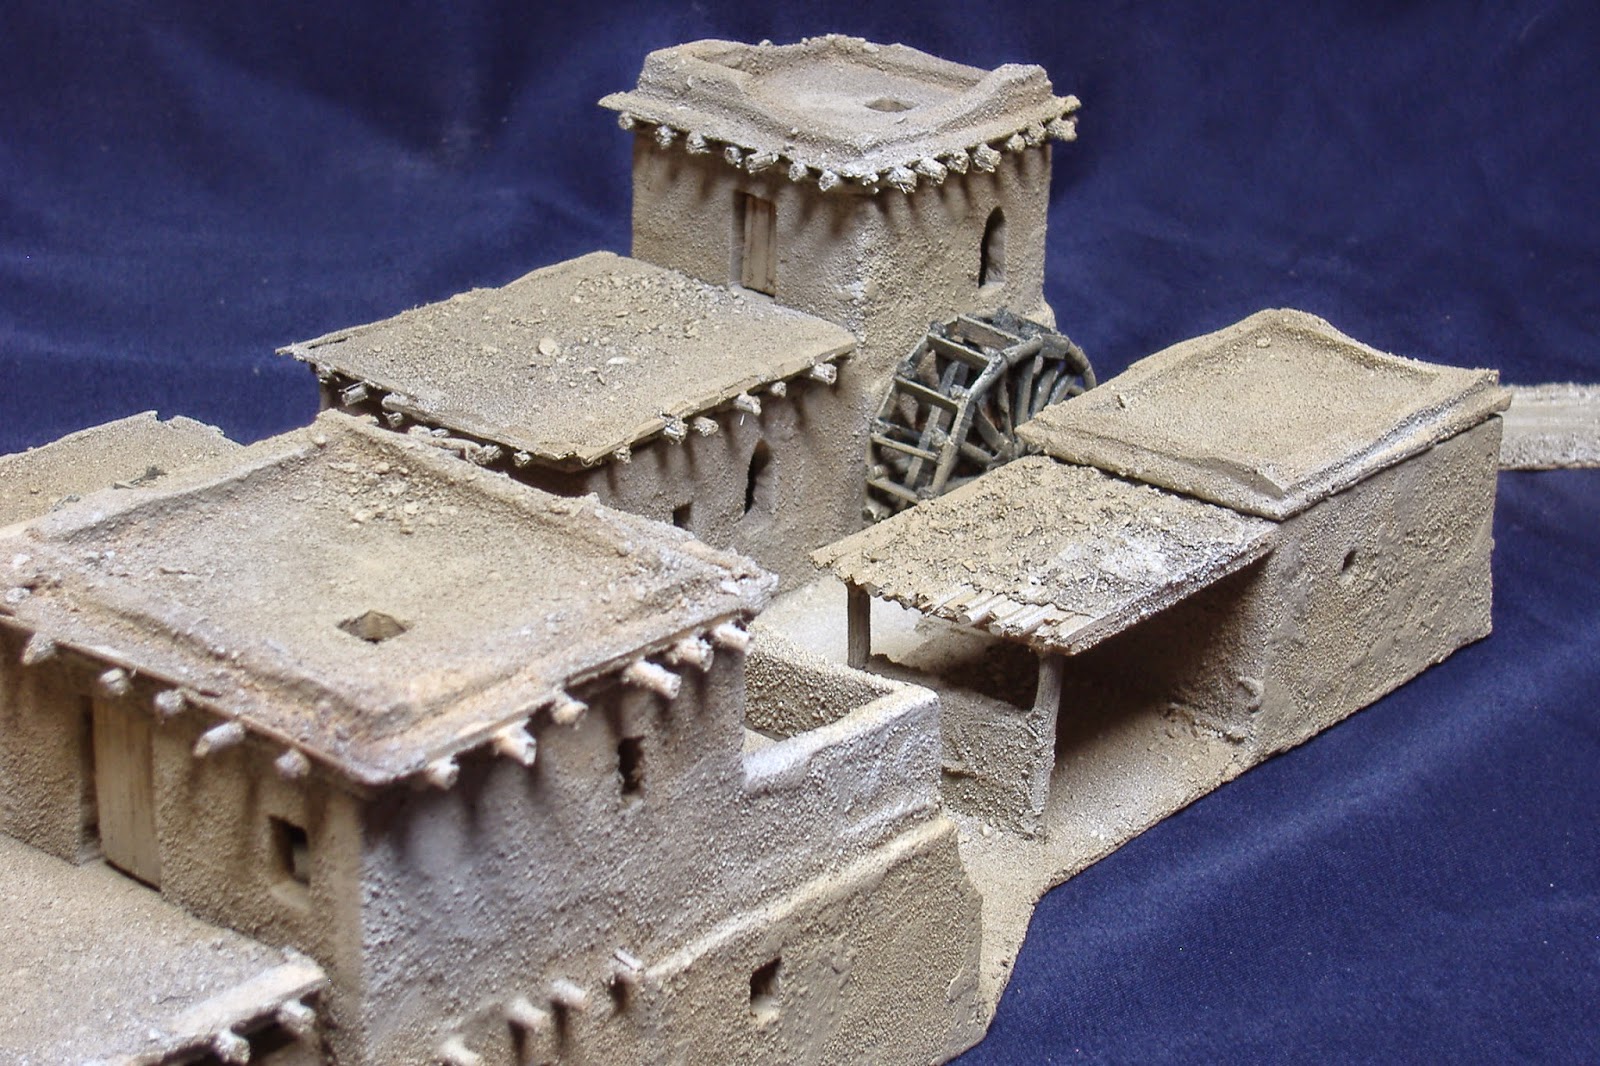
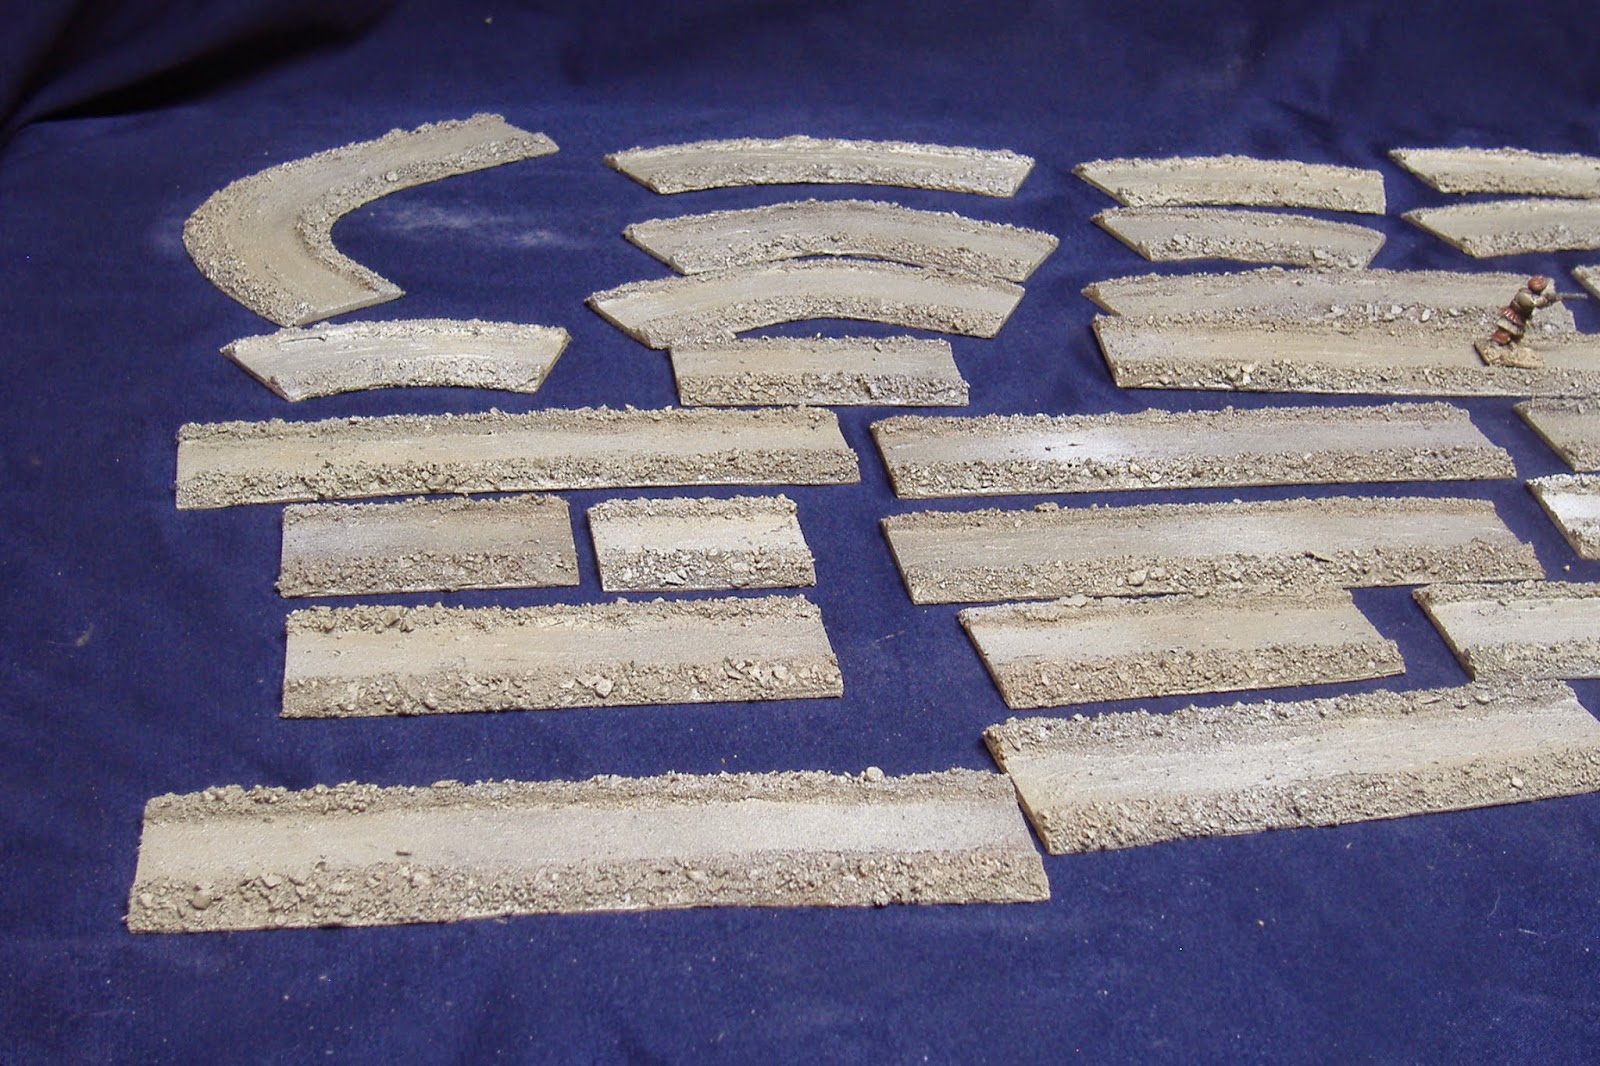
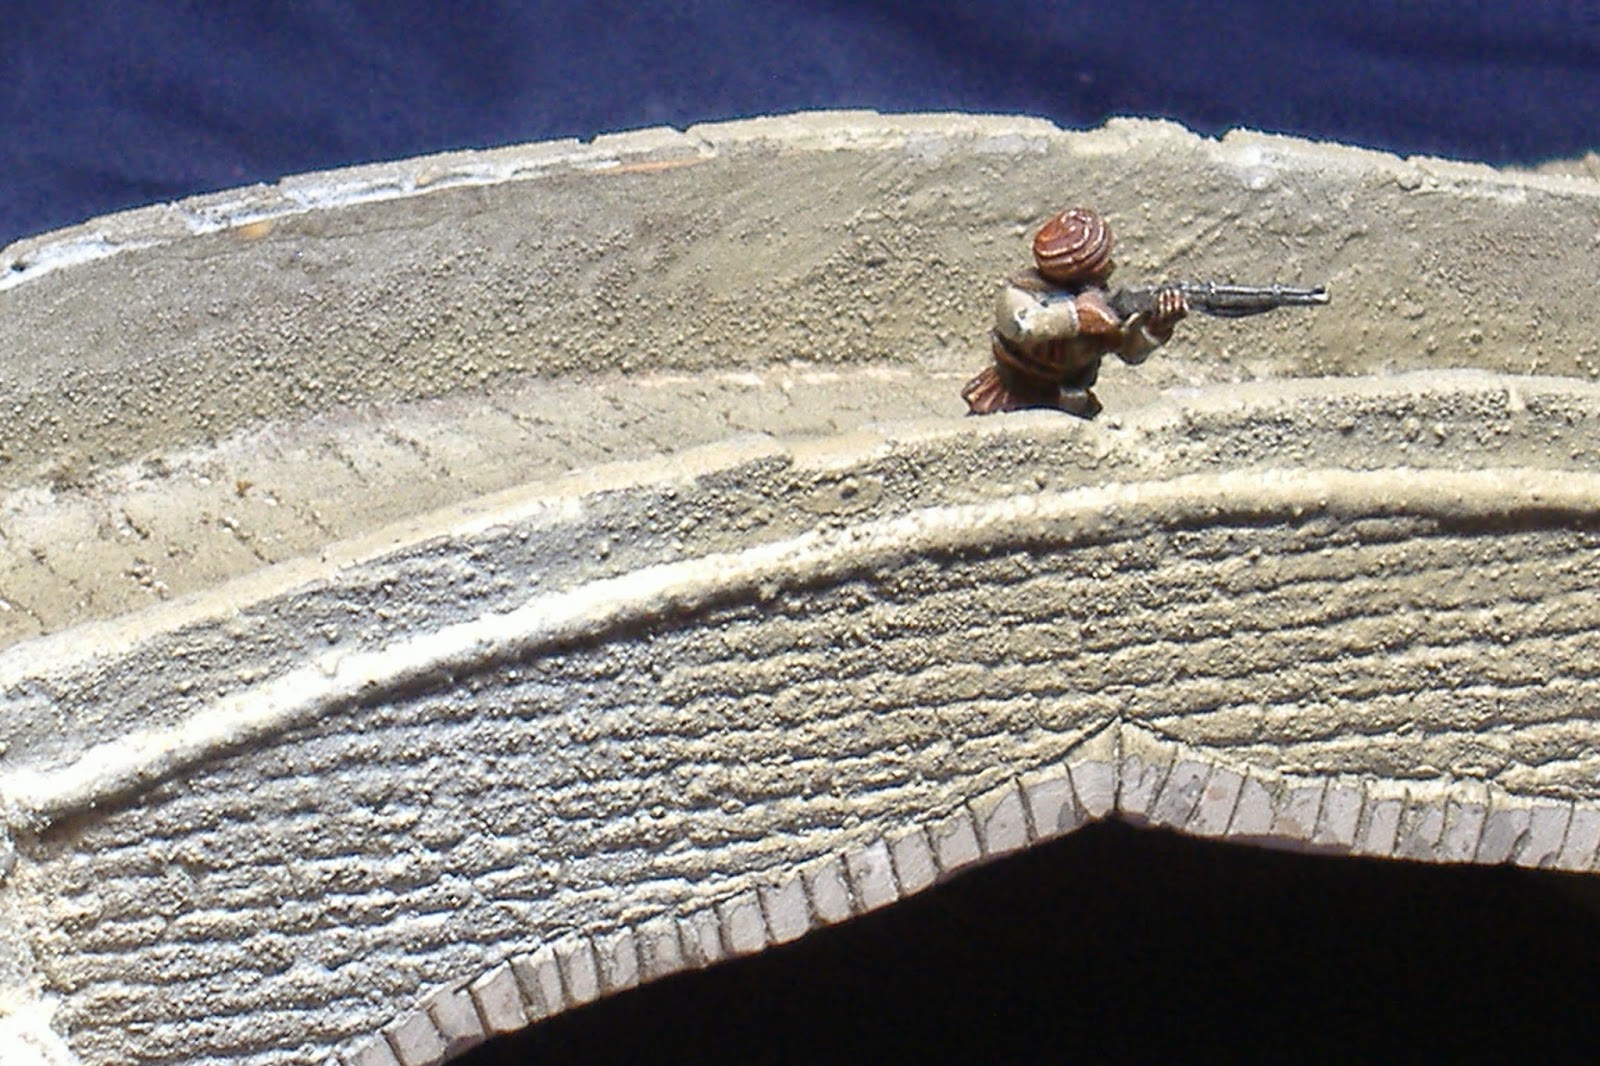
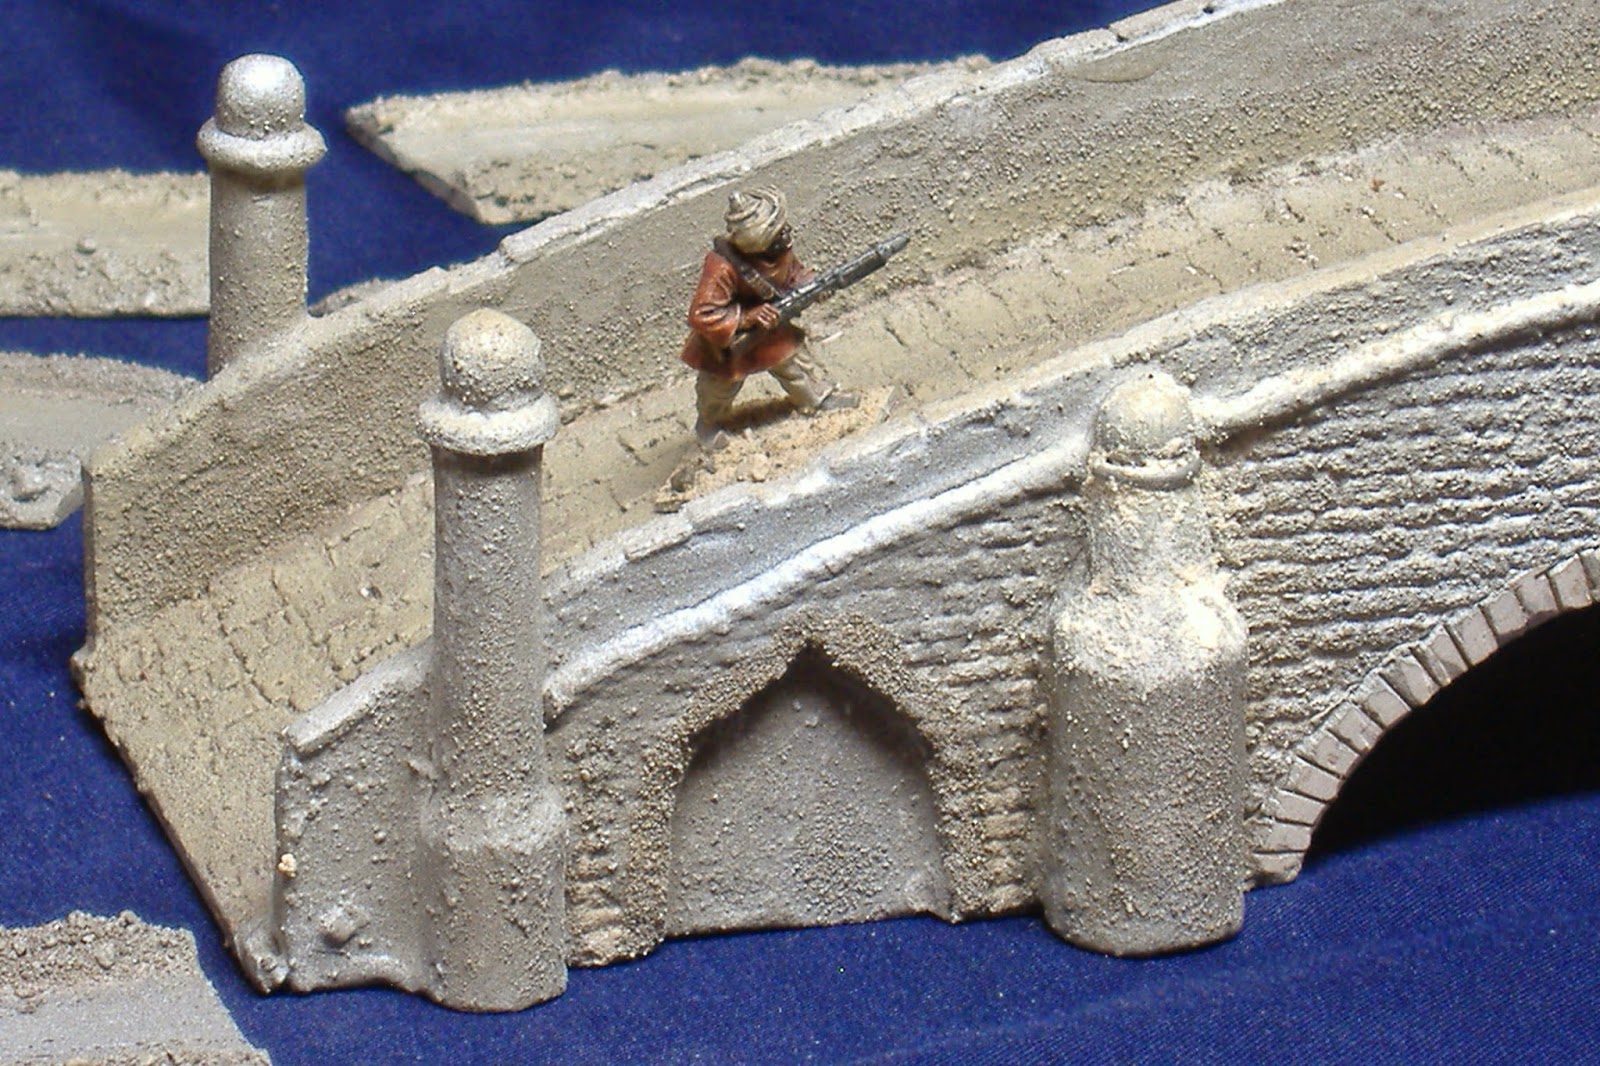
Finally, there’s a pic showing the Sang i-Nawishta or “Carved Stone” monument, placed back in the 17th Century to memorialize construction of the road through the gorge on the West bank of the Logar River. This momument stood just North of the spot which anchored the left flank of the Afghan line and served as a major objective for the British attack during the battle…
I can’t wait to finally get my hands on this fantastic collection of bespoke terrain pieces, which appear to have come together as well as could be imagined.
Next up for presentation are the “reeds”… which are slightly more complicated — and also less impressive — simply because they were built by me instead of a world-class master of the model-making trade!
It all started with my all-time favorite online terrain-board building tutorial courtesy of Clarence Handerson’s Quindia Studios. Sadly, some time in late February or early March 2015, the old version of said website, along with its various “Articles”, one of which contained the brilliant tutorial in question, disappeared from the web. However, I’m happy to report that Clarence has since responded to pleas from myself and other fans of his work and has begun to repost all the missing tutorials. He hasn’t reached his tutorial on RIVER REEDS yet, so I can’t show you pics of how he did it, but when he reaches that point I’ll come back to this post and bring it up to speed with links to his site and pics from his original post.
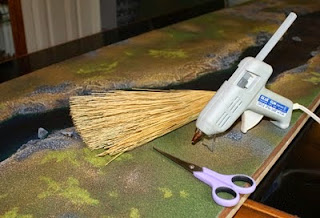
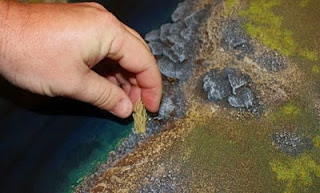
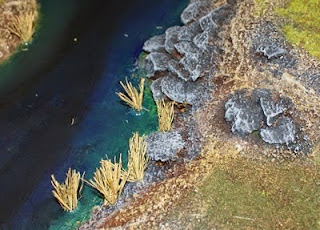
The key element was using an inexpensive WHISK BROOM from the hardware store — even at today’s inflated prices only a $5.00 or $6.00 item — as the source for “natural” colored river reeds by cutting small bunches of the n bristles yellow-ochre bristles off and gluing them down to your dug-out and painted river-bed before pouring on the liquid resin.
Reeds, cattails and water grass exist in one form or another along the banks of most of the rivers on Earth, so adding some reeds to your model river should add to its scenic realism, as seen to good effect in these pics taken from Clarence’s Qundia Studios blog:
I was very enhtusiastic about purusing this route because the idea of using an inexpensive household item to craft impressive terrain held, and still holds, great appeal for me. So I got myself a whisk broom and went to work…
I was happy with the results of my first attempt at “reedification” of the Logar River and pressed on down the banks of both 2’x2′ terrain-boards
I finished up and then it started to hit me…
(1) The look of the reeds seemed off somehow. Though “natural” colored reeds or cattails look perfectly appropriate in temperate climes, where they can stand out against the generally green backdrop of the surrounding dry land, in a more arid climate where the overall color of the surrounding terrain is brown instead of green… well, they kind of disappear.
(2) The size of the bristles from the whisk broom, while not gargantuan, seemed a bit oversized and out of scale.
If it had just been one of the above two issues I might have left well enough alone but… since it was a double-dip of dissatisfaction I found myself leaning towards doing something about it.
Obviously that would entail a lot of otherwise totally unnecessary work, since it would mean first either choosing to do completely without any reeds at all or finding a better replacement for the whisk broom bristles, then removing each of painstakingly hot-glued bristle clump, touching up the paintjob on all those spots on the river, then — if I managed to find something better — repeating the entire “installation” process for each clump of reeds over again from scratch.
Ugh.
But even though it would suck on the one hand, at least I wouldn’t spend time whenever I used these terrain boards in the future, thinking about how they’d have been better if I’d done things differently.
So… I went back to the source. I redoubled my efforts to locate photo reference of river banks in Afghanistan in general and reeds/cattail/swamp grass in Afghan rivers in particular.
And this is what I found: generally speaking such flora is mostly GREEN. Not brown or “natural” but green. After a somewhat exhaustive online search I did find one batch of photos showing “natural” colored beige reeds or weeds but they weren’t in or along a river, instead they were around manmade irrigation channels. Even if I had found “natural” color reeds in an Afghan river, I probably would have gone down the same road I went down, simply because I think it made for a more visually pleasing look, plus I knew it was based at least somewhat in reality, since I did find a number of pics showing green reeds or water-grass.
The most important were the two photos below, the first of which show the West bank of the Logar River close to Charasiab and the second of which shows the Kabul River not far from the same area…
As you can see the flora in both photos is extremely green.
Once I realized changing the reeds to green would not only improve the aesthetics of the terrain (at least IMHO) but also make it look more like the real world location, I knew I had to make the change.
The question then became… how exactly? What would I replace the whisk broom bristles with?
I came up with an idea that seemed like it might work. I’ve got a lot of worn-out old brushes. Not fine “five-0” or “ten-0″ brushes, but 1″ and 1/2” brushes used for painting terrain-boards and rocky wood-chip mountains and contour hills and various other bits and pieces of rough terrain. Looking at these brushes up close it hit me that their bristles were far smaller gauge than the whisk broom’s, so they might be a better match in terms of scale for my 28mm figures.
Well, I was right, but there was still a problem: how to paint those super-fine bristles green?
I went to work with various shades of inexpensive acrylic craft paints and did a decent job. The scratchbuilt “Green Swamp Grass” tufts worked pretty well. But the painting process was time-consuming and resulted in passable but not great results. Some of the bristles clumped together in not the best way possible. Nothing that couldn’t be fixed but in addition to painting them this would add yet another step to the process. Not good.
Then I found relatively inexpensive “cattails” from a hobby scenics company called WEESCAPES at my local hobby shop. These looked very good. I didn’t love the shade of green they were painted, it was a little drab and dark, but I could live with it.
It was $5.29 for a pack containing 8 cattails. I did the math and figured, though it would cost more than I’d want to spend, I could manage to intermittently line the banks of both my rivers with these.
Then I remembered the swamp.
Hahahahah… yes, the “Talab Khairabad” — the marshland to the South-West of the bend where the Logar River goes from an East-West axis and heads North towards Kabul. My scale model version of this terrain feature would cover approximately 16″x24″, most of which would need to be filled with the exact same water-grass or reeds or swamp-grass or cattails — call them what you will.
That’s one of the reasons I’d been so happy with the idea of using bristles from the whisk broom to make reeds from. Because I’d need a whole lot of them.
I did a test and one full pack of 8 clumps of cattails covered about 1″x1/2″ of space. Even if I rounded up and said one pack would cover a full square-inch, using them to cover roughly three-square-feet would end up costing $432.00 (?!?!?!?!?!?!?!). Again, even if I rounded far down and left lots of patches of bare water between bunches of cattails, at the very least I’d be looking at spending $300.00 to $350.00 on miniature cattails. I know model railroaders spend a lot on their landscaping materials, but since these cattails weren’t the perfect color to begin with, there was simply no way I could bring myself to take this approach.
However there’s a silver lining to this part of the story… because while finding the cattails at my local hooby shop, I also found Wee Scapes’ “FIELD GRASS”.
Many of you may be familiar with Woodland Scenics Field Grass, which is a delicate fine material. The Wee Scapes’ version was slightly rougher and much stiffer — making it much more useful for my purposes.
I bought a pack to try out and learned a single length of the Wee Scapes grass could provide 3 lengths of roughly 1-1/8″ reeds. The single pack allowed me to create about 140 clumps of reeds — at a cost of $3.29.
That’s 140 clumps for $3.29 versus 8 clumps for $5.29.
Plus the Field Grass came in three different colors: Natural, Dark Green, and… drum-roll please: LIGHT GREEN — which wasn’t too light and was close to a perfect match for the classic green color of the water-grass seen in the photos above.
Here’s some pics of how it turned out…
…and with two Pathan Tribesmen to give a sense of how the “Field Grass” scale fits with 28mm figures…
Finally, here’s a look at the Swamp, still unfinished, but with major headway made towards filling its basin up with reeds…
Whew.
I’ve still got a ways to go, but I can really see the light at the end of the swamp now.
When the swamp board is filled up with reeds I’ll move on to adding a smattering of them to the 6’x2′ Kabul River board, then FINALLY, I’ll reach the point of pouring on the two-part liquid resin and bringing these terrain pieces to completion.
